Setting Up Google Analytics
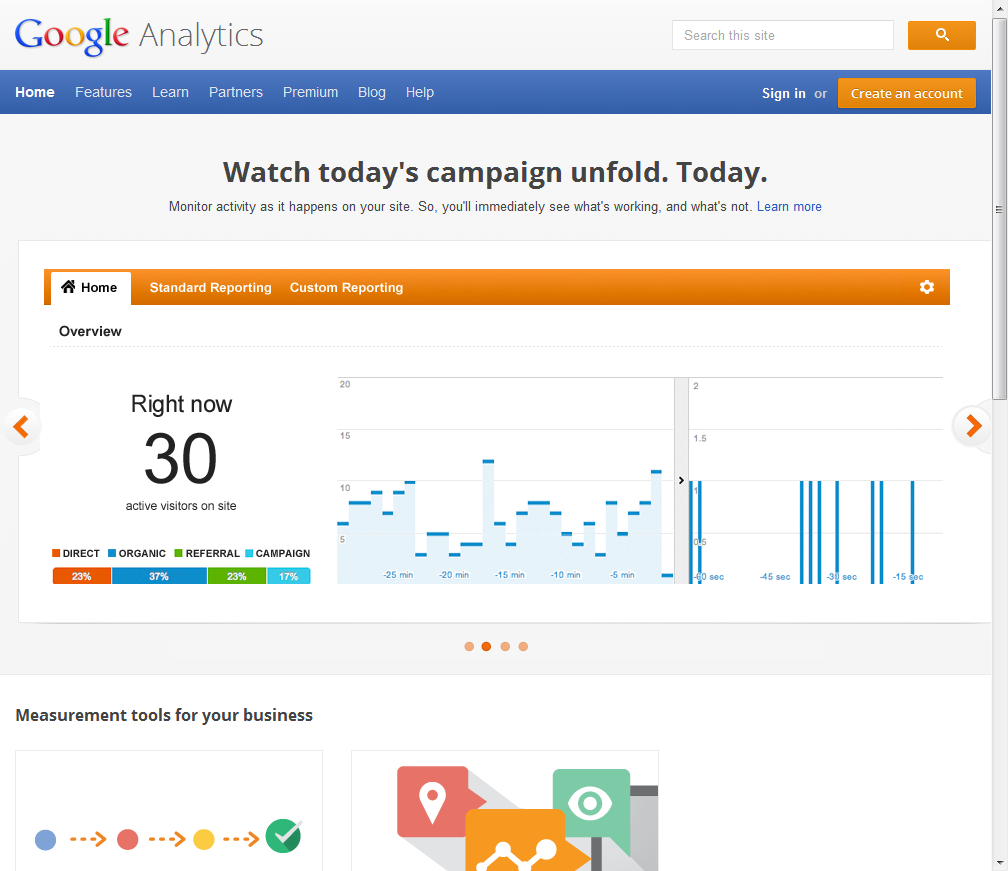
Setting up Google Analytics is relatively straight forward. Start by visiting Google Analytics. It will look similar to this. click on Create an Account.
If you already have a Google Account, great. Simply log in with it. If not, create one here. 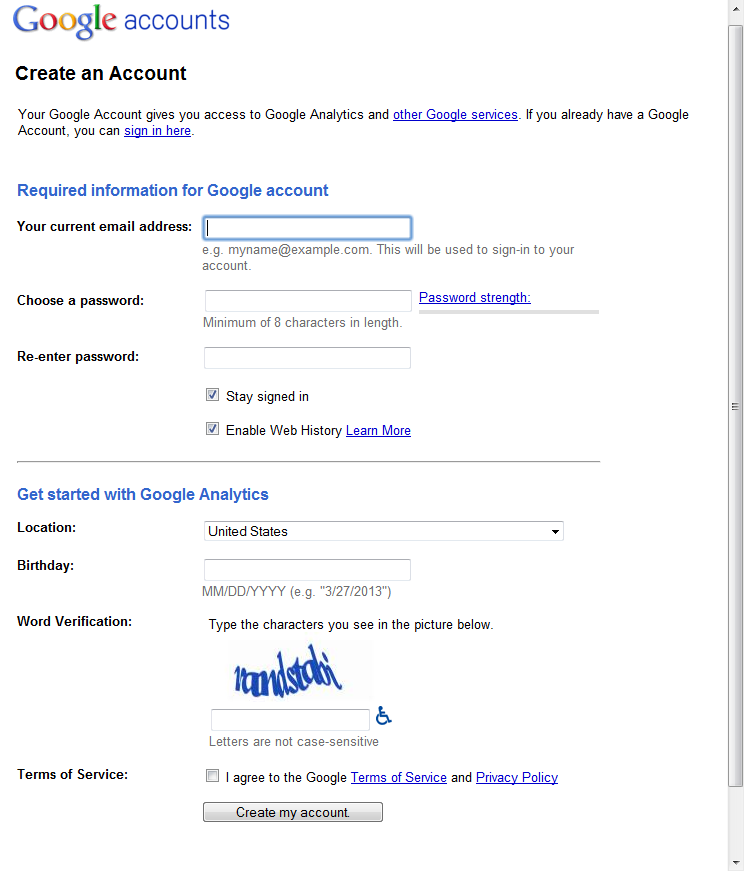
Once logged in, this should be the page that is up. Click Sign Up. 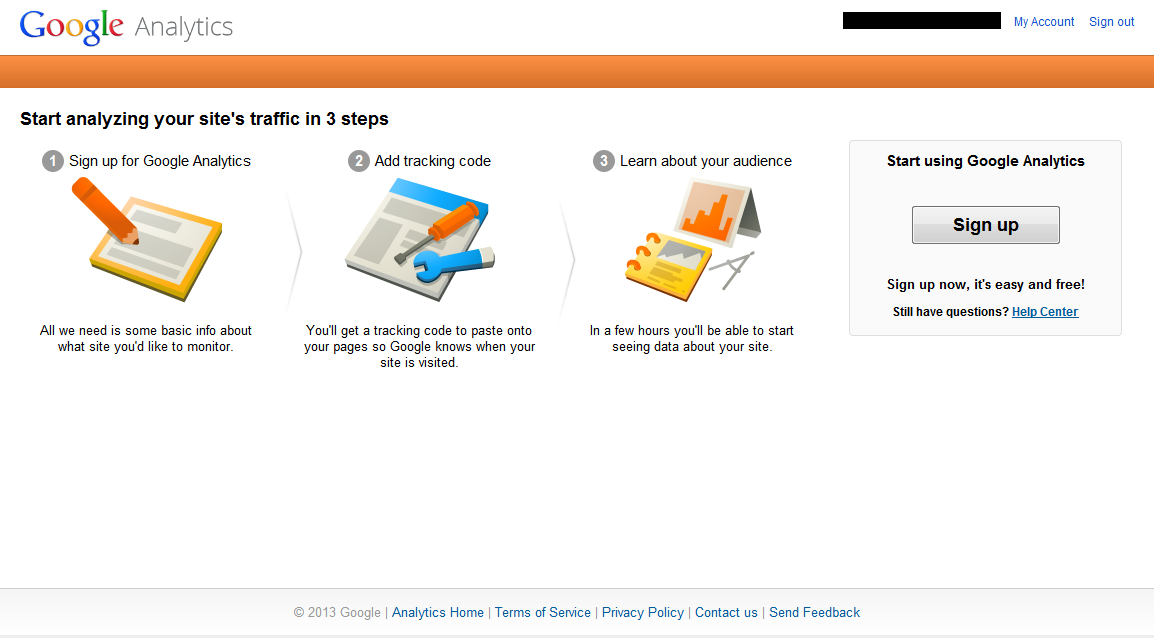
Now this screen, fill in as much details as possible. Make sure Web site is selected. I use Classic Analytics For Site Name, I recommend the “Business Name”. For the domain name I filled in just domain.com instead of www.domain.com because my sites are visited through domain.com. The choices for Industry Category are very limited. The choices are Automotive, Business and Industrial Markets, Classifieds and Local, Consumer Packaged Goods, Education and Government, Finance, Healthcare, Media and Entertainment, Retail, Technology, and Travel. Generally I select what ever it is that closely resembles the site. Sometimes it’s a stretch but it’s the closest one. Fill out the Time Zone information and we are almost done setting up Google Analytics. once everything is filled out click Get Tracking ID.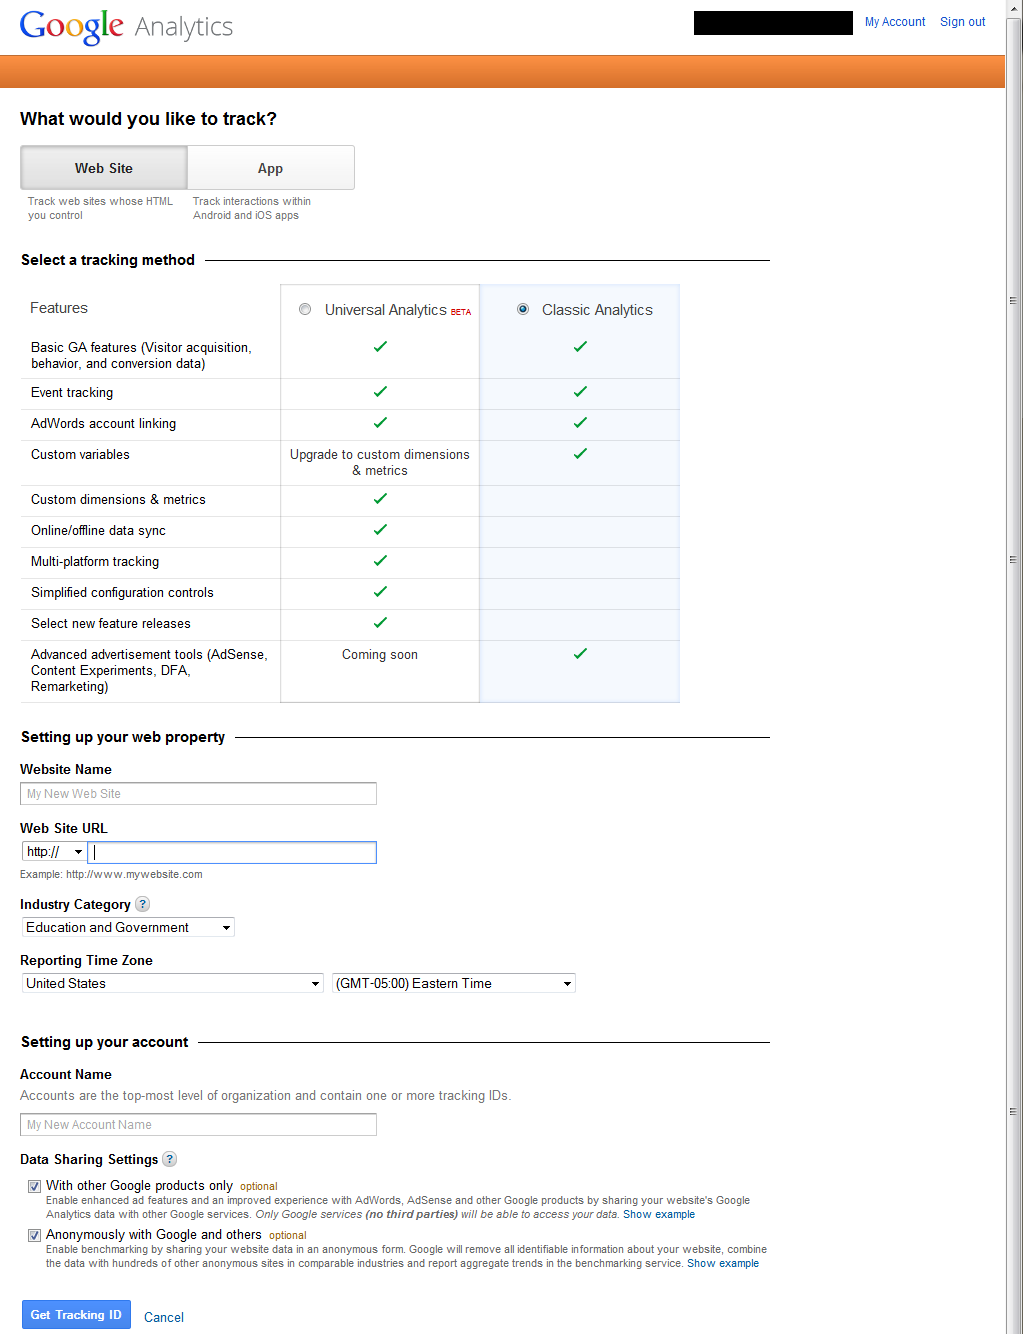 Of course, here is the End User License Agreement.
 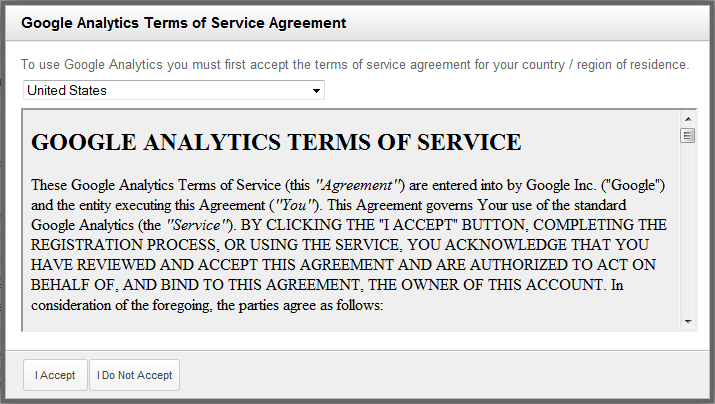 Once you click Get Tracking ID and accept the EULA, a page like below will be displayed. I apologize this one is “blacked out” but I needed to secure that data. All of the blacked out areas content is site specific data.
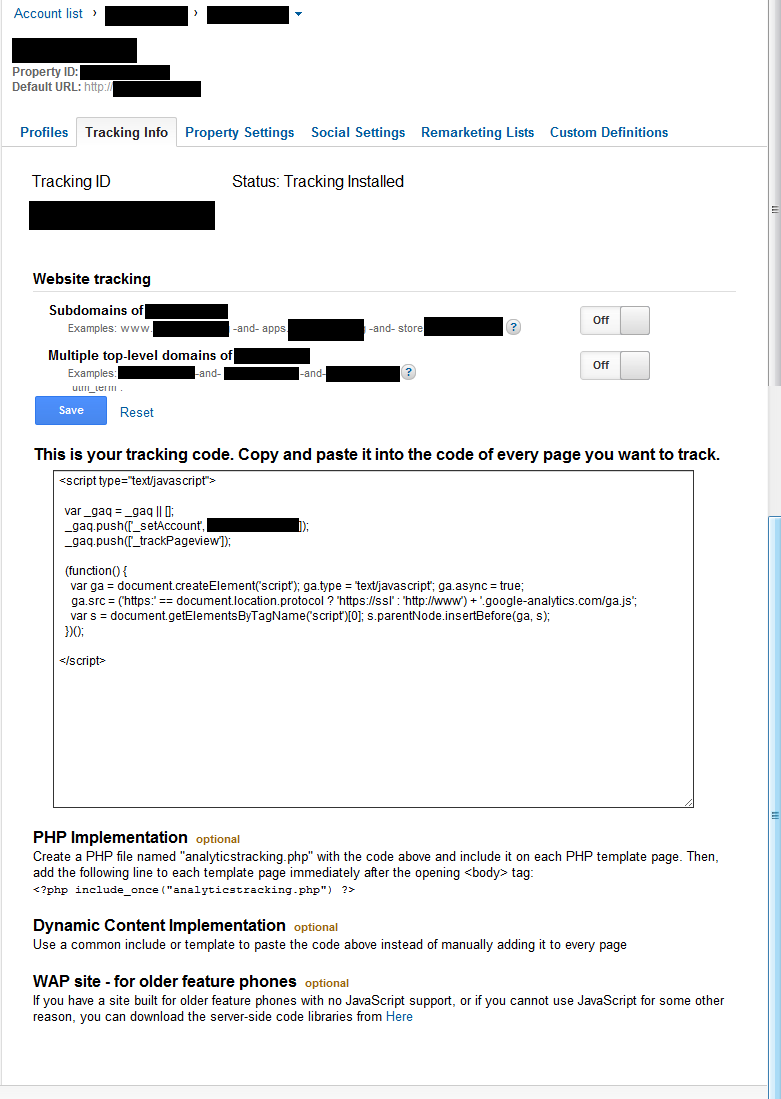 Now we need to go to the website. For WordPress, there is a plugin for Google Analytics. The one I like is called Google Analytics for WordPress. It’s developed by Yoast. The same people that developed WordPress SEO, which in my opinion is the best free SEO Plugin. Once the plug-in is installed and activated, simply set it to Manual and copy over the UA number from the last page on Google Analytics setup up.
 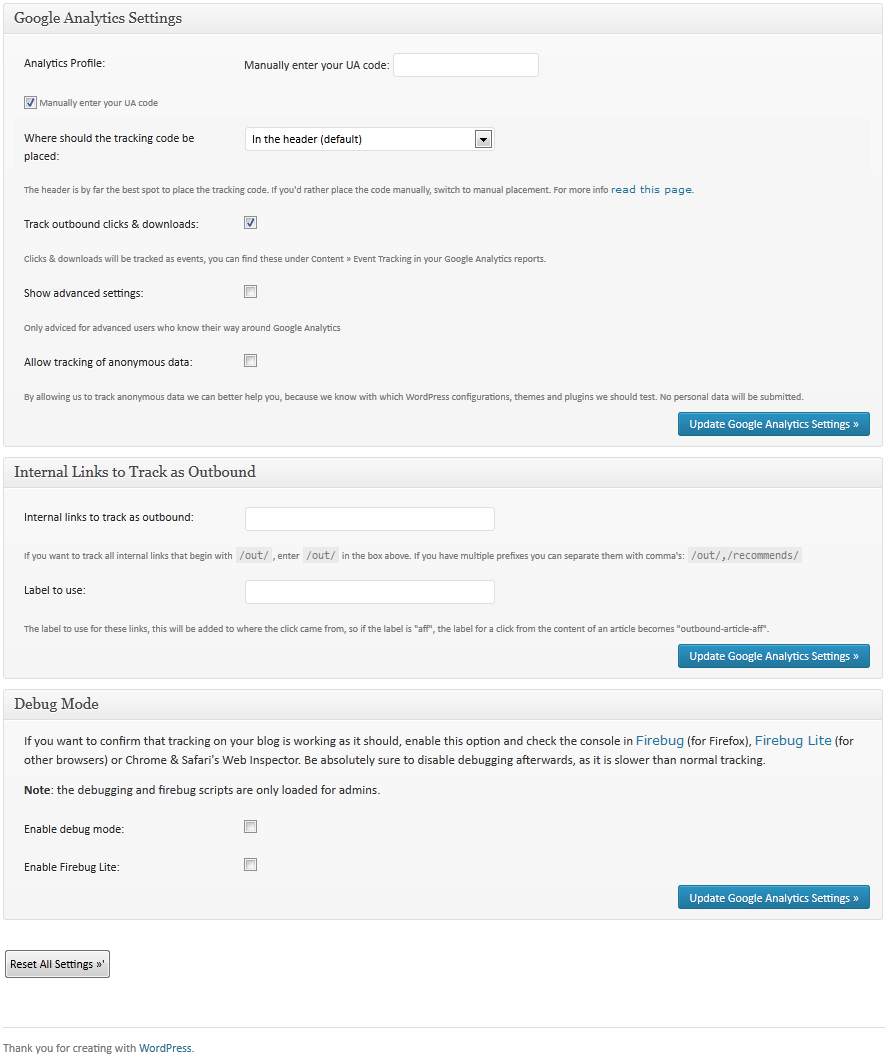 Click on Update Google Analytics Settings and after a couple of days you will start to see data collected even if it is just you visiting the site.


Recent Comments